


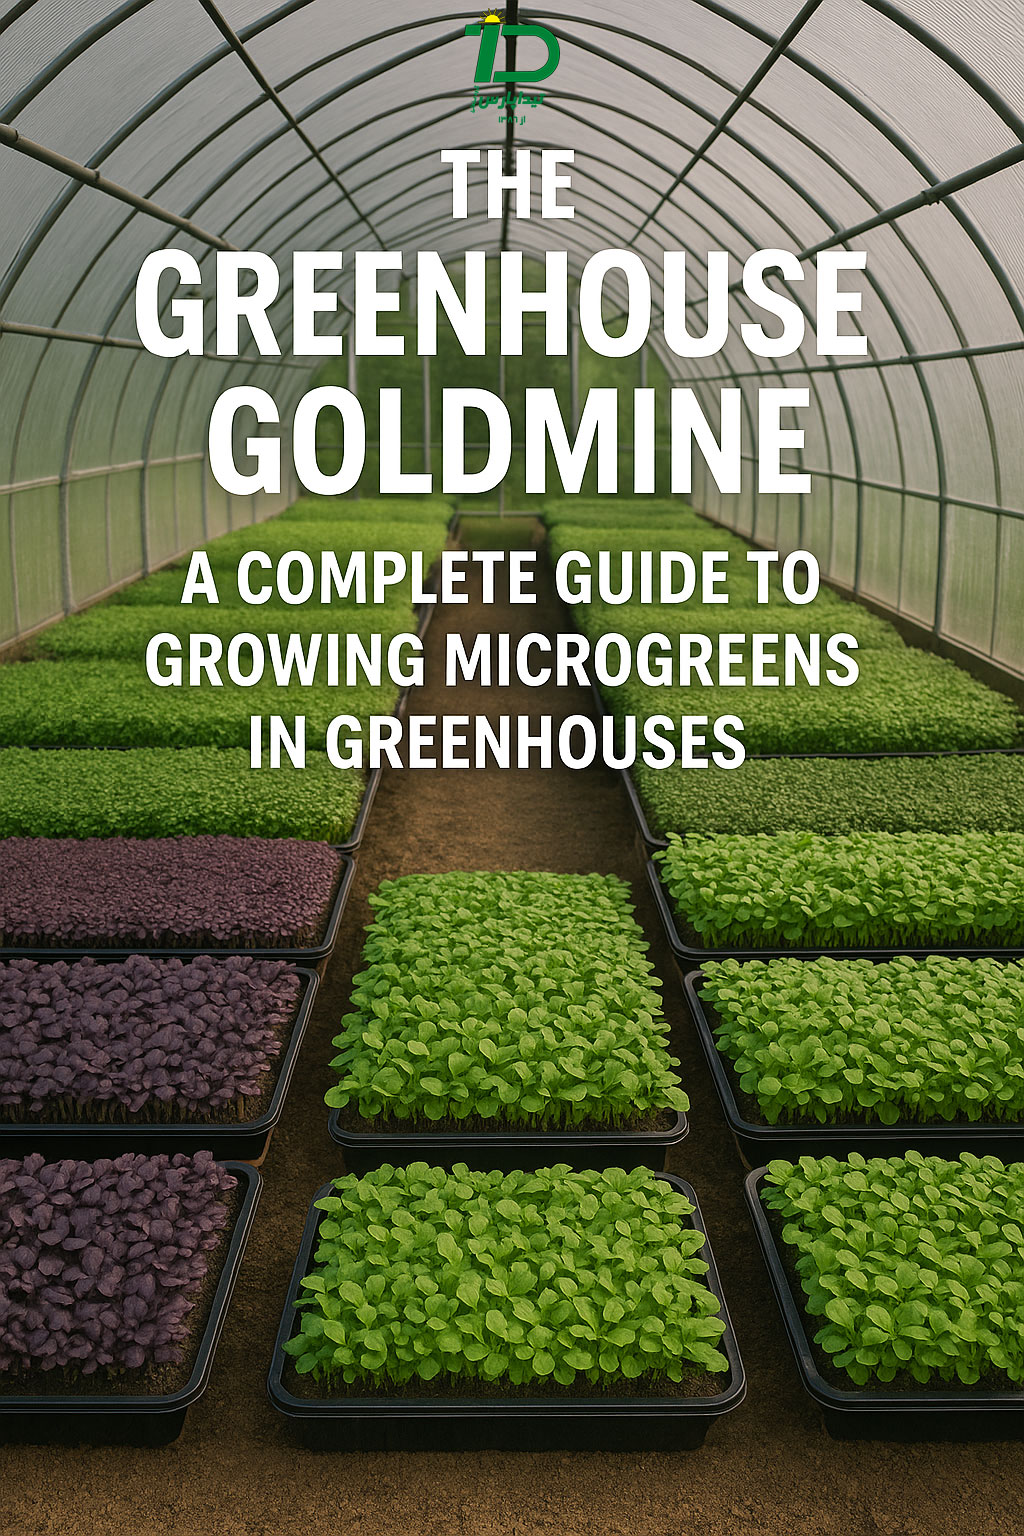
The Greenhouse Goldmine: A Complete Guide to Growing Microgreens in Greenhouses
Introduction
In recent years, microgreens cultivation has emerged as one of the most profitable and fast-paced growing methods in modern agriculture. These tiny, nutrient-dense plants are harvested just days after germination, making them a popular choice for health-conscious consumers and urban farmers alike. In this article, we’ll explore the full process of growing microgreens in greenhouses, and at the end, we’ll touch on how a mechanized microgreen seeder can take your production to the next level.
What Are Microgreens?
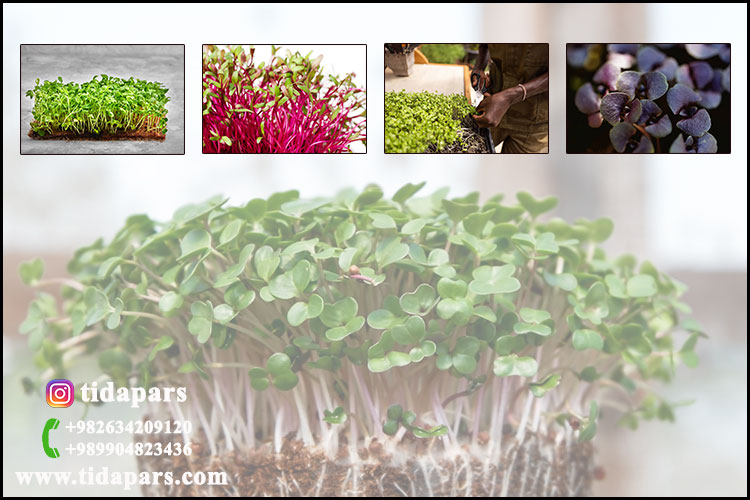
Microgreens are young edible greens harvested 7–14 days after germination. At this stage, the plants typically have just developed their cotyledons and a few true leaves. They’re prized for their concentrated flavors, vibrant colors, and high nutritional value. Popular types of microgreens include radish, sunflower, basil, cilantro, mustard, kale, and broccoli.
Why Grow Microgreens in a Greenhouse?
1. Better Environmental Control
Greenhouses provide optimal control over temperature, humidity, light, and ventilation, resulting in higher-quality crops and reduced losses.
2. Year-Round Production
With greenhouse infrastructure, microgreens can be cultivated throughout the year, regardless of external climate conditions.
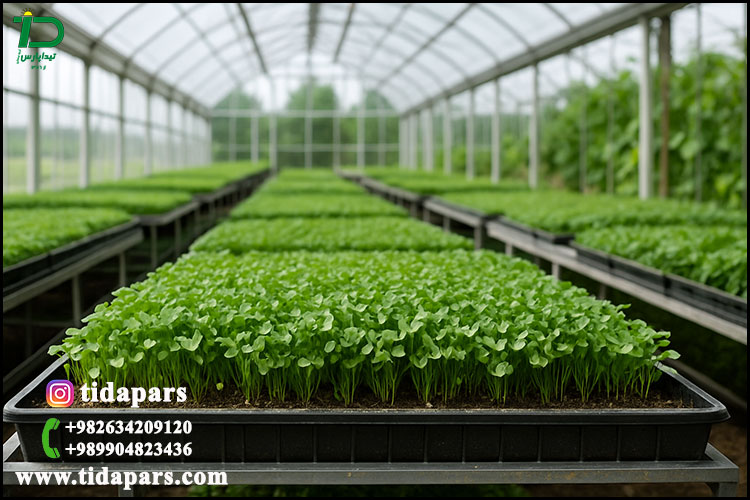
3. Maximum Space Efficiency
Microgreens are typically grown in stacked trays or shelves, allowing growers to maximize their use of limited space.
Step-by-Step: How to Grow Microgreens in a Greenhouse
Step 1: Choose the Right Seeds
Use high-quality, untreated seeds specifically labeled for microgreen use. Popular choices include arugula, beet, pea, red cabbage, and chard.
Step 2: Prepare the Growing Medium
opt for shallow trays filled with a clean, moisture-retentive growing medium such as coco peat, peat moss, or fiber pads.
Step 3: Sow the Seeds
Even distribution is crucial. For commercial operations, using a mechanized microgreen seeder ensures uniform sowing, reduces seed waste, and improves efficiency.
Step 4: Watering and Germination
Mist the seeds lightly and cover them during the initial germination period. After 2–3 days, expose them to light and continue watering gently to avoid mold.
Step 5: Lighting
Adequate light is critical for proper development. If natural sunlight is insufficient, LED grow lights can provide consistent illumination.
Step 6: Harvest
Microgreens are usually ready to harvest within 7–14 days. Use sharp scissors or a harvesting knife to cut just above the soil line, then rinse and package promptly.
Essential Tools and Equipment
Shallow microgreen trays
Growing medium (coco peat, peat moss, biodegradable pads)
Misting system or spray bottle
Ventilation system and climate controls
Mechanized microgreen seeder
LED grow lights (if necessary)
The Business Case: Why Microgreens Are Profitable
Microgreens offer a quick turnaround time, low input cost, and high retail value. With growing demand in restaurants, health food stores, and gourmet markets, they represent an ideal opportunity for both small-scale and commercial greenhouse growers.
Common Challenges and How to Overcome Them
Mold issues due to excess moisture or poor airflow
Uneven germination caused by inconsistent seeding
Light deficiency leading to leggy or pale microgreens
Contaminated seeds or substrate affecting overall yield
By maintaining proper hygiene, environmental controls, and using reliable equipment, most of these issues can be prevented or mitigated.
The Future of Microgreen Farming: Mechanization Matters
As demand for microgreens continues to rise, automation and mechanization will play a crucial role in meeting market needs. A mechanized microgreen seeder simplifies the sowing process, ensures uniformity, and enhances productivity—making it an essential tool for scaling up.
Conclusion
Growing microgreens in a greenhouse is a fast, efficient, and lucrative venture for modern growers. By selecting quality seeds, optimizing the environment, and integrating smart tools like a mechanized microgreen seeder, you can build a sustainable business and consistently deliver premium microgreens to the market.
Recommended SEO Keywords:
microgreens greenhouse cultivation, how to grow microgreens, greenhouse farming, microgreen trays, microgreen seeder machine, profitable greenhouse crops